Happy New Year, or Happy Hogmanay as we say in Scotland, to all of my readers and visitors. I hope you had a wonderful holiday season and enjoyed the family time as much as I did. We’ve had a wonderfully busy and crafty start to 2014 here at Thistle Dubh Ewe and between orders and new knitting projects, this is the first of me getting a chance to post. I thought I’d start you off with a wee storage project since no doubt spring cleaning will be on the horizon for many of us.
This project may seem a little obvious but it’s amazing how many people are still throwing away cardboard boxes. I get loads of these as packaging and if they’re too big for me to reuse when I send out my own orders to customers, then I like to find an alternative purpose.
I saw a wonderful post on Google + recently from one of the recycling groups I belong to where UsedEverywhere had shared their ideas on what do with those truly huge boxes. You can check it out here Cardboard Creativity. Meantime, here’s an idea for those smaller boxes. Fabric storage! I have fabric coming out of my ears at the moment as many crafters do and I tend to find the prices on shop bought storage are a bit crazy to get anything of decent quality. As ever, handmade items are the ideal way to resolve the problem because you can make them completely to your own taste.
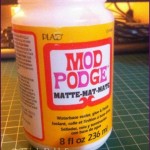
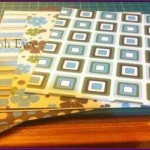
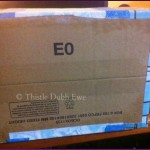
I started with a box I received from Amazon when I ordered a book for a Christmas present back in December. The first job was to grab my trusty Mod Podge and a selection of backing papers. The ones I used are from Diecuts With A View, in the Retro Prints mini paper stack. They’re acid and lignin free and there are 144 sheets which is great value.
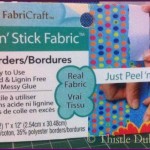
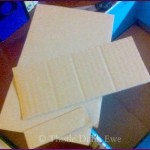
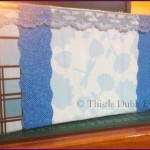
I tucked the four top flaps in rather than cutting them off as it gives a nice sturdy double wall to your box. Next I covered the outsides with my chosen papers and found it’s a good idea to let each piece dry for a couple of minutes before layering over it with the next bit otherwise your cardboard gets a little soggy. I didn’t like seeing the joins between the papers, so I covered them with some ingenious self adhesive fabric strips. They come in a lovely selection of patterns which makes it easy to co-ordinate with your papers.
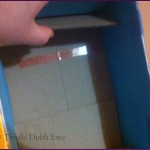
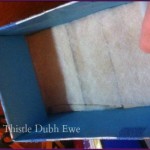
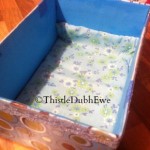
The inside didn’t look too nice and I wanted to make sure my stored fabrics wouldn’t catch or snare on any corners. To prevent that, I picked a nice 12″ x 12″ blue card and measured it to fit each of the 4 sides before gluing it in place. There was a slight dip in the bottom of the box where the 2 side flaps were turned up and I cut out a smaller bit of spare cardboard to fill in the gap. I used a couple of pieces of double sided sticky tape to secure the flaps and the centre section into place and with a newly level bottom, I padded it with a rectangle of wadding which was then covered with pretty matching material.
With the inside all sorted, I felt the exterior needed a little extra to jazz it up and added a pretty blue lace trim around the top. I’m thinking ahead here as I want to co-ordinate all of my storage and accessories with my new craft room. (Hooray for kids leaving home!) More on that another day though.
The penultimate step was to cut some more card, plain white this time, and fix it to the base in order to cover up all the paper edges that had been folded under. These tend to catch on things no matter how well glued down and I wanted the box to slide on and off the shelf without too much trouble.
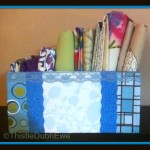
Final touch was adding a pretty self adhesive label to one side (I bought mine for 99 pence but there are loads of free printables available online or you could design your own in Word) and filling the box up with a mixture of fat quarters that had been lying around and needed organised.
I was so pleased with it that I went ahead and made a second one. 🙂 This time I covered the box with plain brown wrapping paper (more recycling), covered the inside completely with fabric and let it drape over the tops and corners, then tied it round with a piece of brown satin ribbon left over from another project.
This is such a quick and easy project to do and provides you with really fun, pretty storage for a multitude of things. Here are a few other ideas:
– Fill a small one with a manicure kit and give it as a birthday present
– Create one that co-ordinates or contrasts with your bedroom decor and gather all your make up into it on your dressing table
– Add some self adhesive gems for a bit of glitz or draw cool cartoon monsters on the outside and use it for keeping your child’s pens, pencils and crayons together.


Leave a Reply